
Here’s an embarrassing confession: the night before my first Angels Landing confrontation in 2019, I watched a YouTube video about the hike and almost had a nervous breakdown. I literally cried and even started writing a farewell letter to my parents. Luckily, Ales managed to calm me down, and I decided I’d hike as far as I felt safe. To cut a long story short, I made it safely to the top and back. Not only once, but three times – I did it again in 2021 and 2025! 😉
So, what is it about the Angels Landing hike that makes it so iconic? Is it really that difficult? Is there an easier way to reach the summit? And last but not least, is it worth the trouble? In this post, I will tell you everything you need to know about the Angels Landing hike.
- Location: Zion National Park, Utah
- Entrance fee: 35 $ per vehicle (valid for 7 days)
- Difficulty: Strenuous
- Hiking Time: 3 – 6 hours (we reached the summit in 1 hour)
- Distance: 5 miles (8 km) roundtrip
- Elevation change: 1,488 feet (453 meters)
- Summit: 790 feet (1.764 m) above sea level
How hard is the Angels Landing hike?
Angels Landing is considered one of the most dangerous hikes in the US. However, although it’s described as difficult, it isn’t technically challenging. For most hikers, it’s more about the fear of heights and exposed areas than exhaustion or the actual danger of falling. Have people died on Angels Landing? Yes — there are casualties almost every year. But it’s also one of the most crowded hikes, which contributes to the accidents.
I’d say Angels Landing is a challenging hike for occasional hikers and a very difficult hike for tourists and those with fear of heights. For me, it was challenging in terms of fear, but for my partner it was like a walk in the park.
Angels Landing permit
To hike Angels Landing, you’ll need a permit, which is required for the final stretch (the “spine”) only. The permit was enforced in 2022 to reduce overcrowding on the exposed “chains” section, improve safety, and protect the trail. Zion National Park sees over 5 million visitors per year, which works out to over 10,000 per day on average. “Only” 1000 per day get the Angels Landing Permit.
The permit is issued through a lottery system on Recreation.gov. There are two ways to apply: a seasonal lottery and a day-before lottery, which is the most common for foreign tourists. To apply, you pay a $6 non-refundable application fee, and if you win a permit, you’ll pay an additional $3 per person. Once you get it, make sure to download the email confirmation — cell service in Zion is limited, and rangers will check your permit.
Hoe to get to Angels Landing trailhead
During the shuttle season private vehicles are not allowed on the Zion Canyon Scenic Drive, which leads to the trailhead. Shuttles usually run from March through November, so make sure to check the schedule. Park your car at the Zion National Park Visitor Center (South Entrance) and walk to the shuttle stop. If you’re driving into the park outside the shuttle season, you can drive into the canyon and park at the Grotto picnic area.
Angels Landing trail description
Here is my Angels Landing first-timer’s step-by-step guide to each section of the trail.
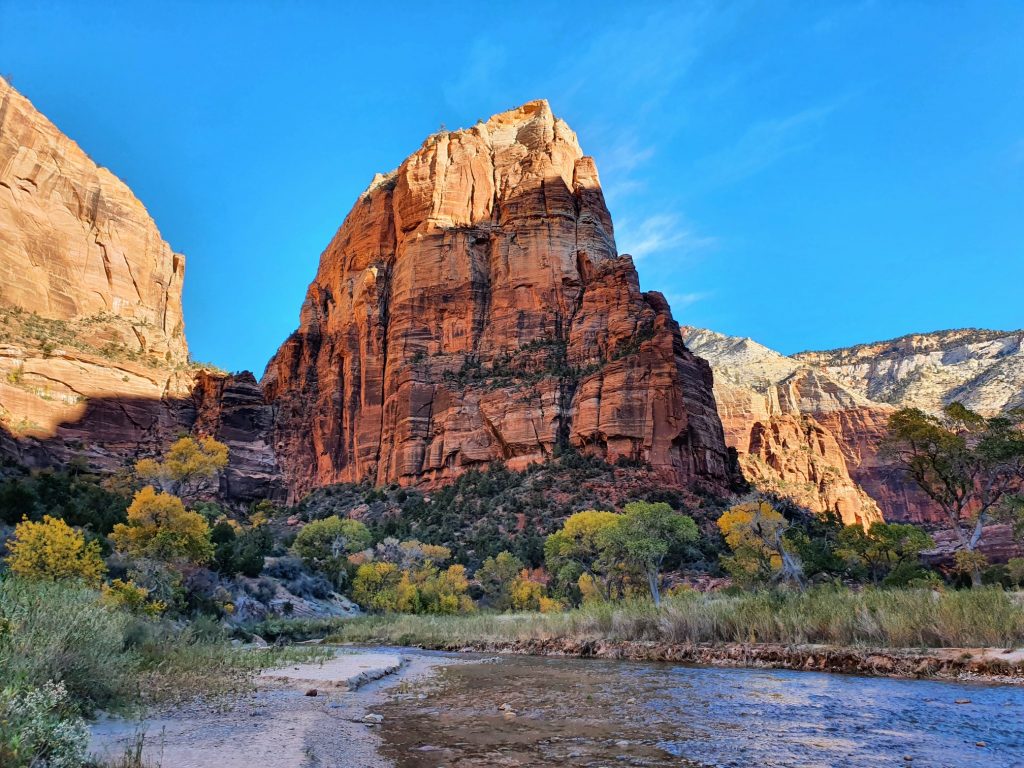
Exit at The Grotto shuttle stop (Stop No. 6) and walk across the bridge over the Virgin River. Then turn right and simply follow the well-marked trail along the river. From here, you’ll spot the Angels Landing summit for the first time — and it will look scary AF. Luckily, the first section of the trail is almost flat, so your heart rate can slowly return to normal.
Soon, the trail begins to climb through a series of switchbacks. Although elevated, it’s quite wide, partially paved, and safe to walk. This is the first section with gorgeous views of Zion Canyon, but leave those for later – you’ll have plenty of time to take photos on your way back.
After losing sight of Zion Canyon, you’ll enter Refrigerator Canyon, carved between the cliffs of Cathedral Mountain and Angels Landing. The scenery here is beautiful, with plenty of trees and plants in different colors, especially in autumn. Soak it up, breathe, and save your energy for what’s coming next.
At about the 1.8-mile (3 km) mark, you’ll reach the famous Walter’s Wiggles — a series of 21 steep switchbacks with an average grade of about 25%. This is the point where you may start questioning your fitness level. The good news is that the trail is still paved, wide, and safe.
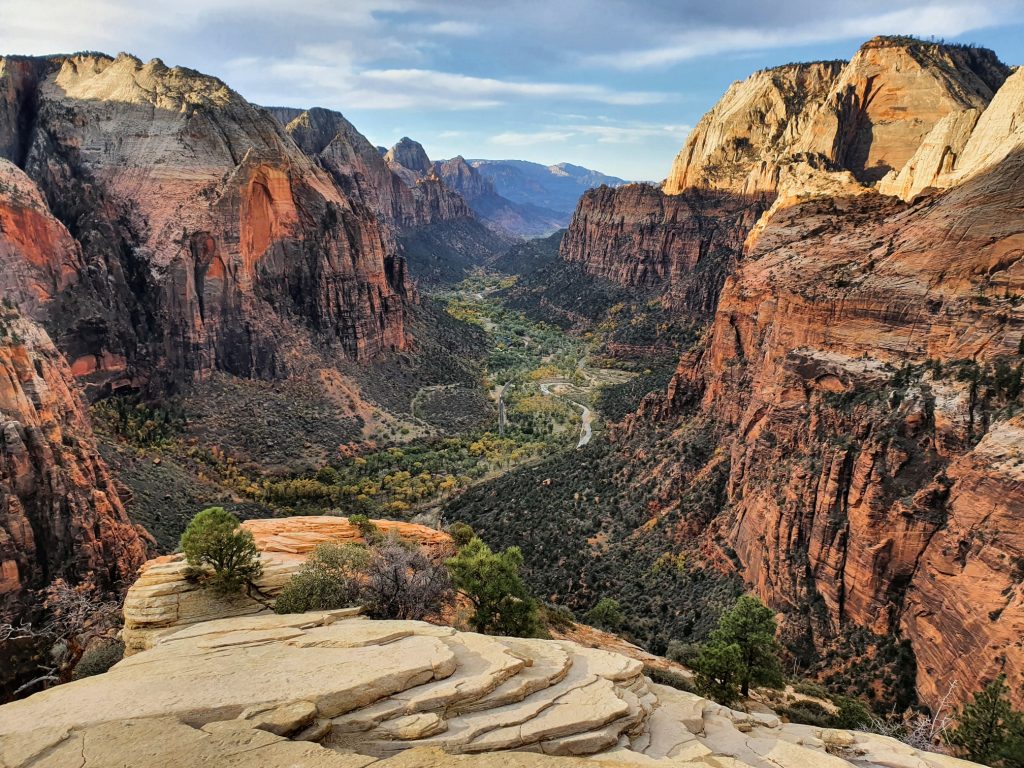
At the top of Walter’s Wiggles, you’ll arrive at Scout Lookout. This is where the non-demanding part of the trail ends and where many hikers with vertigo stop. Fortunately, it’s also where you’ll get stunning views of Zion Canyon and the Angels Landing summit.
Trust me, take your time, go at slow pace, and hike up to Scout Lookout. This part is safe, anyone can do it, and no one regrets it.
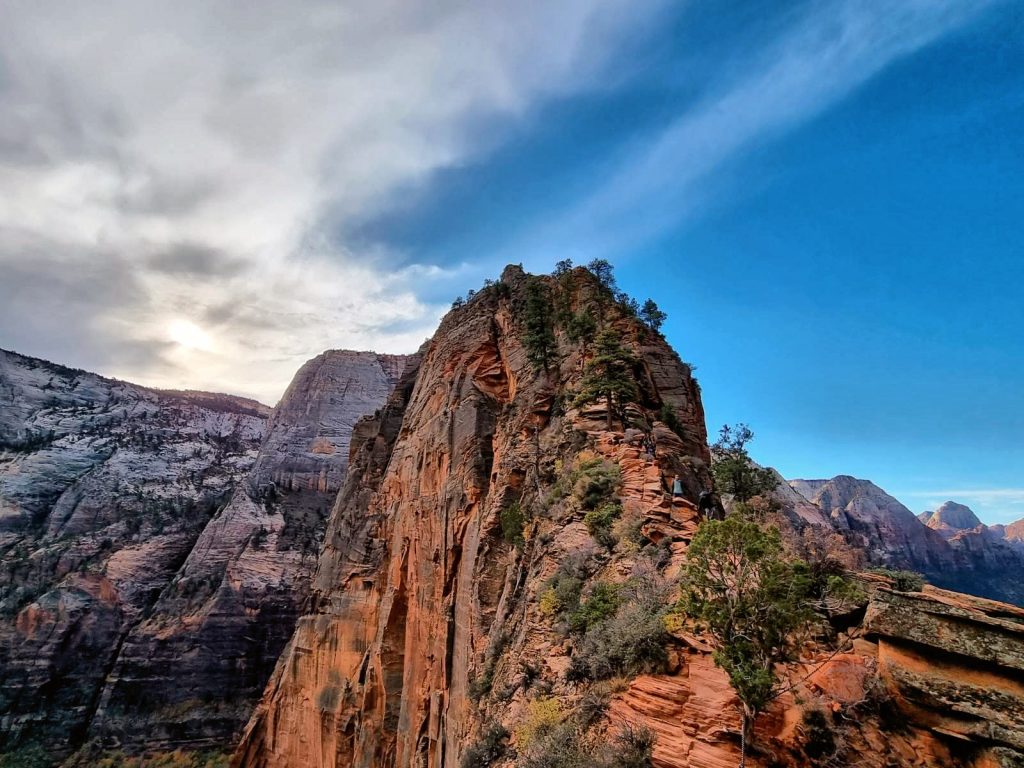
The Spine – The Permit area
The last 0.4 miles of the Angels Landing trail is called The Spine, and from here on you’ll need a permit. It’s all about basic climbing skills and conquering your fear of heights. While this is the most dangerous part of the hike, it’s also the most iconic. The trail is exposed and partly lined with chains to use as handholds. However, the chains don’t cover the entire route, which can be intimidating for some people. For me, the two-way traffic on the exposed sections was the scariest part.
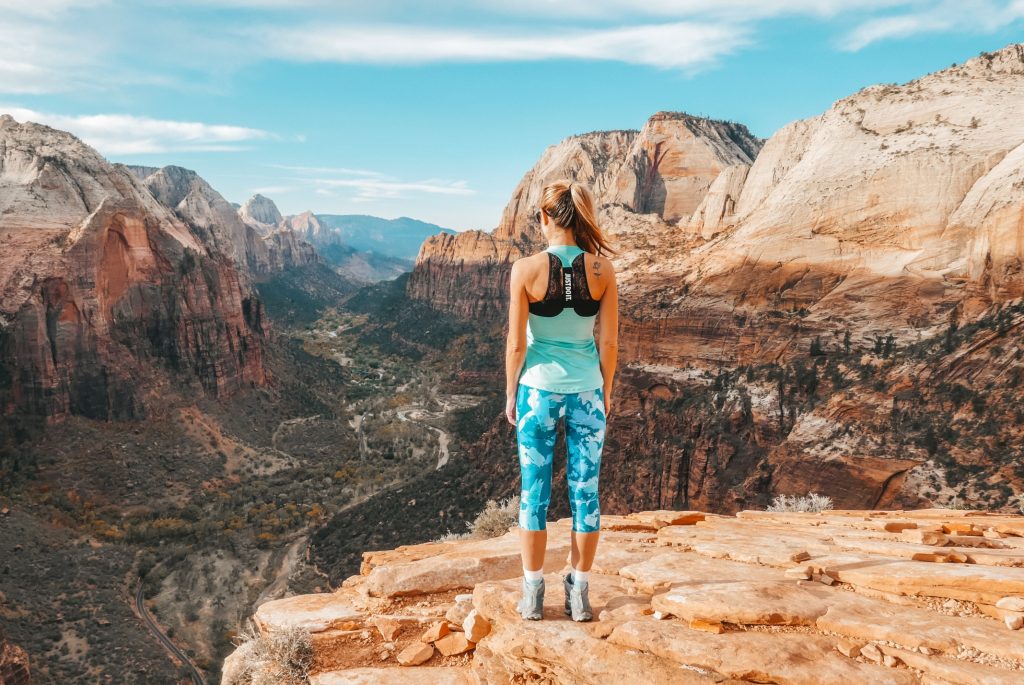
It may feel like forever before you reach the Angels Landing summit, but when you do, it’s an experience you’ll never forget. Surprisingly, the summit is quite flat, with enough space to sit down, grab a snack, and enjoy the views. Besides other hikers, you’ll also share the summit with chipmunks. Don’t feed them – they can bite and may carry diseases.
Finally, you’ll be happy to hear that the hike back down is much easier, because you get a different perspective of the terrain beneath you. However, the challenging part is the crowds. The later in the day it gets, the more people start hiking Angels Landing. Don’t rush, be respectful, but be persistent if you don’t want to wait forever for your turn.
Other useful tips
- Start early: Try to catch the first shuttle (check the schedule) at 7 AM to avoid the crowds.
- Best time to hike Angels Landing: Spring and Fall. I’d avoid hiking to Angels Landing during Winter, in icy conditions.
- Best time for photography: To catch the Zion Canyon beneath in sunlight: after 10 AM, when the sun is high enough. If you want good portrait light: early morning (around 9 AM) or before sunset.
- Toilets: There are bathrooms at The Grotto stop and toilets at the Scout Lookout.
- No dogs allowed: I salute this rule. <3
- Check the weather: Don’t hike in/right after the rain or during the day in hot summer months.
- What to wear: Check the forecast, as it can get very chilly and windy in the morning. Dress in layers.
- Shoes: Wear proper shoes with a good grip. Some parts are sandy and you don’t want to slip.
- Backpack: Try to carry the smallest possible backpack and tighten it as close to your body as possible. It will help you a lot on those climbing and exposed parts.
- America the Beautiful annual pass: If you are visiting more national parks, consider buying the annual pass for 80 USD.
- Where to stay: Springdale is the closest option, but also the most expensive one. If you are on a budget, try Hurricane or La Verkin instead.

There, I believe I covered the most frequent questions about Angels Landing hike. I hope you got the answers you were looking for. If I missed something, let me know in the comment below. And if you liked this post, you are welcome to follow my Instagram and Facebook account for other travel tips and tricks. 😉


1 comment
Great breakdown of the blog and tips. It’s one of the most beautiful views and getting to the top is so worth it. Layers are essential, especially if you start in the morning. By the time you’re descending, the switchbacks will likely be full sun. Best hike!!!